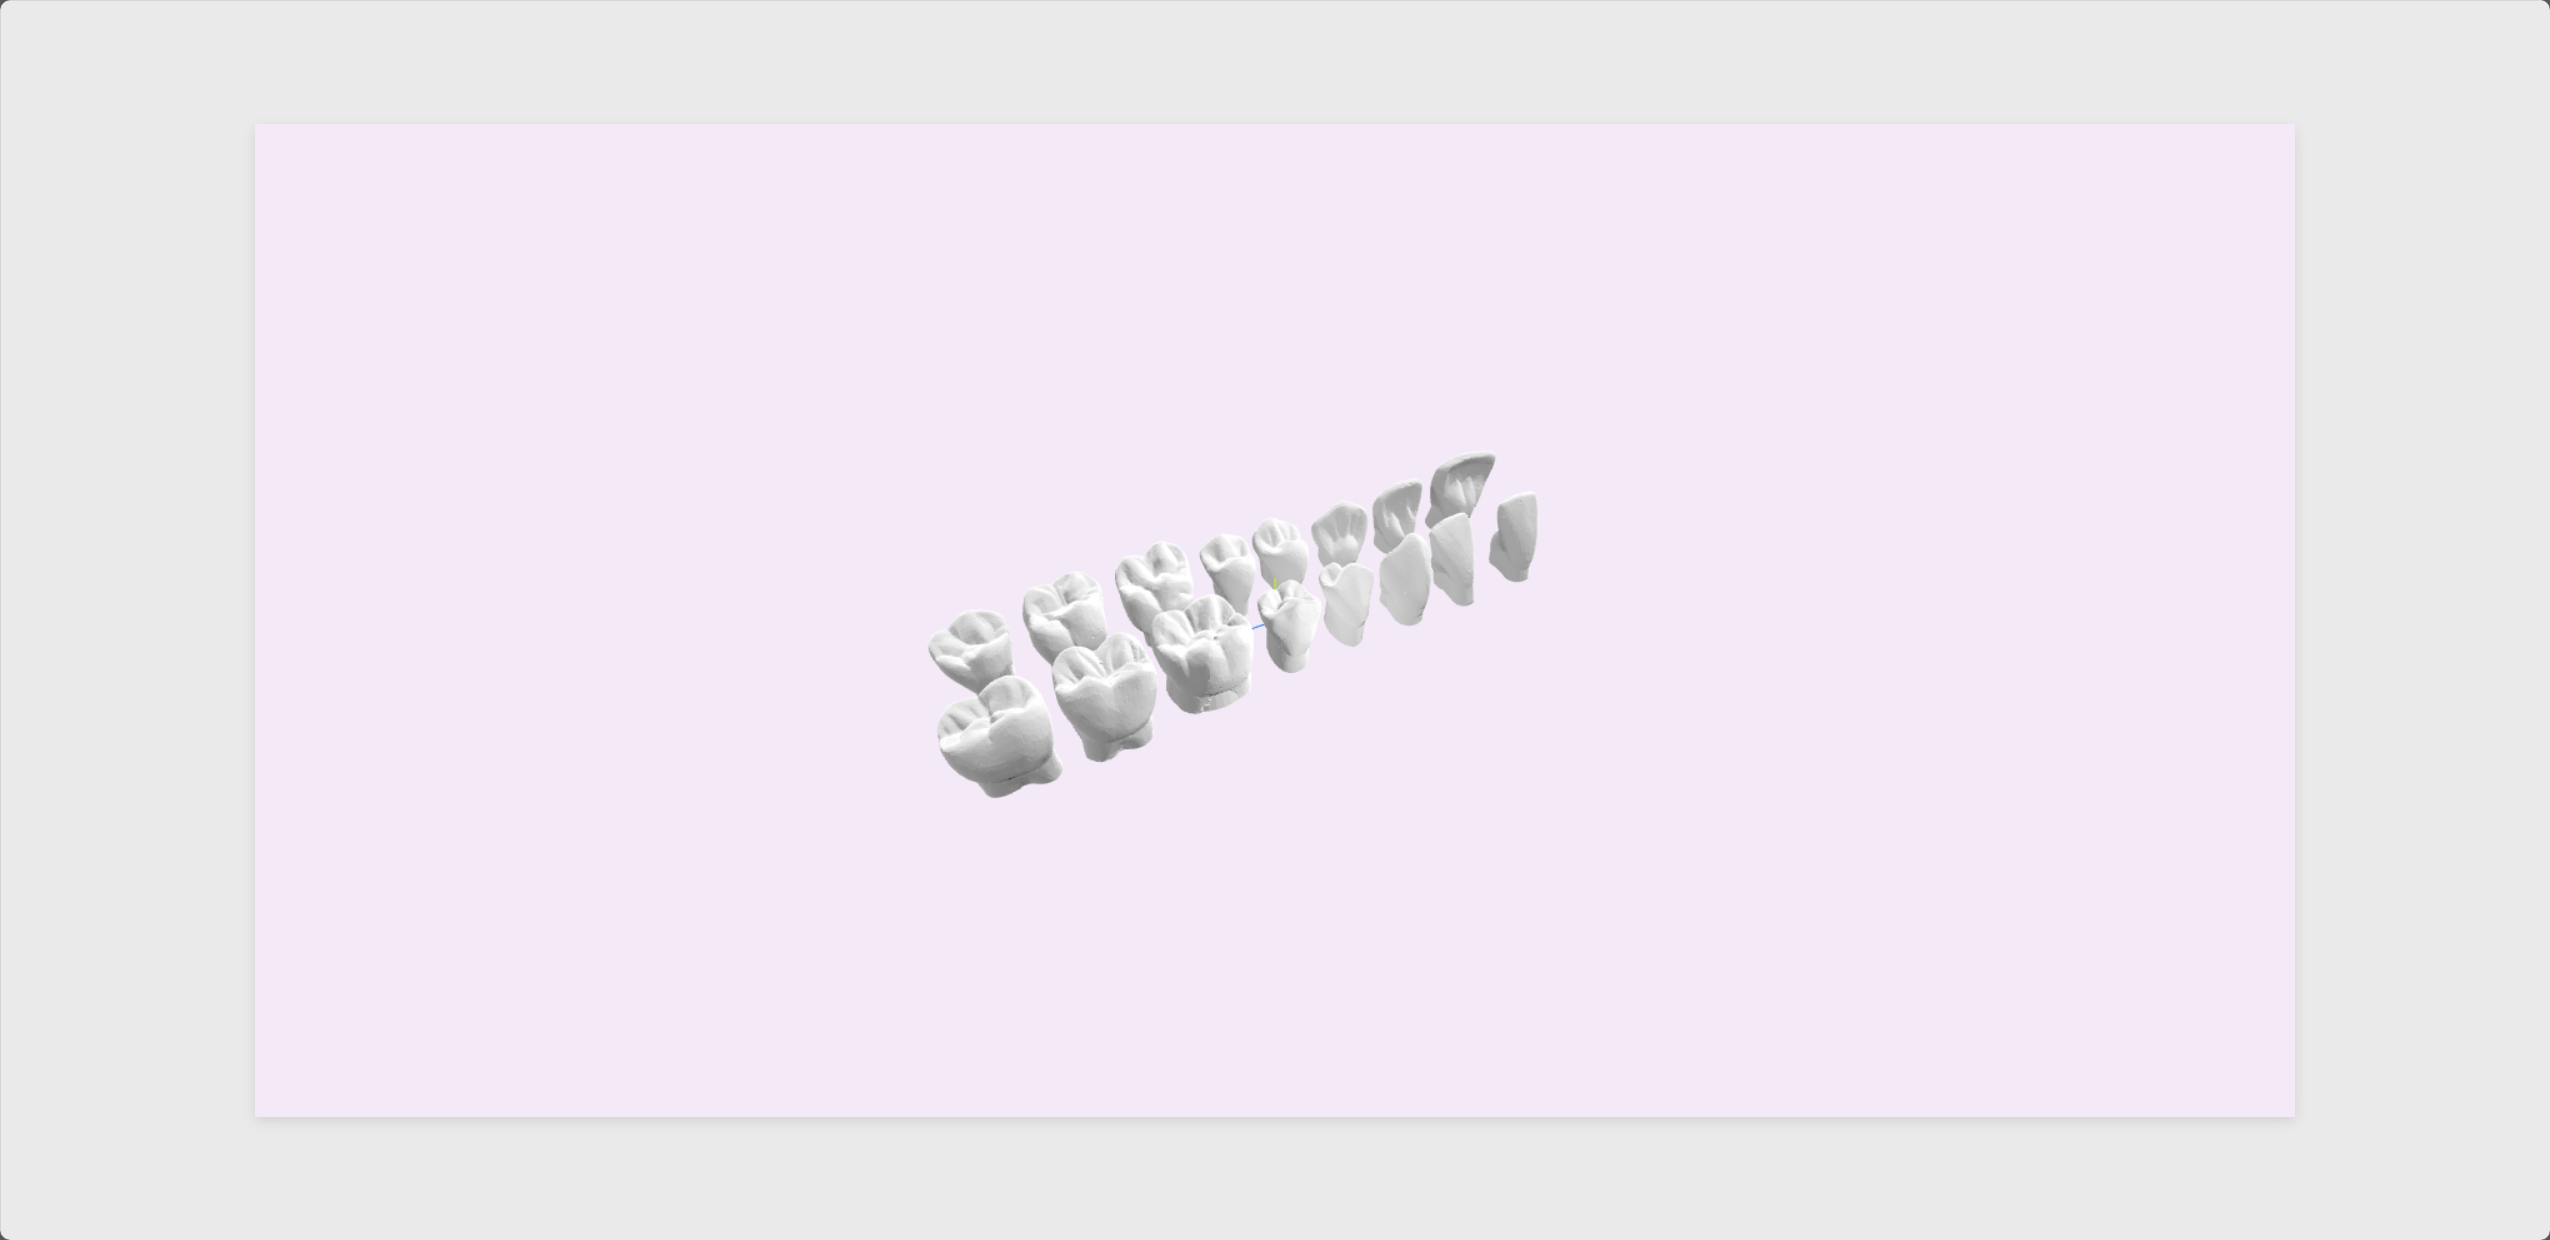
使用 Three.js 导入外部模型和设置场景需要几个步骤,包括加载器的使用、场景的设置以及模型的基本渲染逻辑。

1. 初始化 Three.js 场景
先搭建基本的 Three.js 场景,包括相机、渲染器和光照。
import * as THREE from 'three';

const scene = new THREE.Scene();

// 设置相机
const camera = new THREE.PerspectiveCamera(
    75, window.innerWidth / window.innerHeight, 0.1, 1000
);
camera.position.set(0, 2, 5);

// 设置渲染器
const renderer = new THREE.WebGLRenderer({ antialias: true });
renderer.setSize(window.innerWidth, window.innerHeight);
renderer.setPixelRatio(window.devicePixelRatio);
document.body.appendChild(renderer.domElement);

// 添加光源
const light = new THREE.DirectionalLight(0xffffff, 1);
light.position.set(5, 10, 7.5);
scene.add(light);

// 环境光
const ambientLight = new THREE.AmbientLight(0x404040, 0.5);
scene.add(ambientLight);
2. 加载外部模型
Three.js 支持多种 3D 模型格式,常见的有 GLTF/GLB、OBJ、FBX 等。这里以 GLTF 模型为例。
安装加载器
确保在项目中安装 three 和 three/examples 模块。
npm install three
引入 GLTFLoader:
import { GLTFLoader } from 'three/examples/jsm/loaders/GLTFLoader.js';
加载模型
使用 GLTFLoader 加载外部模型文件。
const loader = new GLTFLoader();
loader.load(
    '/path/to/model.gltf',  // 模型路径
    (gltf) => {
        const model = gltf.scene;
        model.scale.set(1, 1, 1); // 设置缩放比例
        model.position.set(0, 0, 0); // 设置位置
        scene.add(model); // 添加模型到场景中
    },
    (xhr) => {
        console.log(`模型加载进度: ${(xhr.loaded / xhr.total * 100).toFixed(2)}%`);
    },
    (error) => {
        console.error('模型加载失败', error);
    }
);
3. 设置场景背景
单色背景
scene.background = new THREE.Color(0x87ceeb); // 天空蓝色
环境贴图(全景背景)
使用 CubeTextureLoader 加载六面体贴图:
const loader = new THREE.CubeTextureLoader();
const texture = loader.load([
    '/path/to/px.jpg', // 正X
    '/path/to/nx.jpg', // 负X
    '/path/to/py.jpg', // 正Y
    '/path/to/ny.jpg', // 负Y
    '/path/to/pz.jpg', // 正Z
    '/path/to/nz.jpg', // 负Z
]);
scene.background = texture;
4. 添加地面
为场景添加一个简单的地面:
const planeGeometry = new THREE.PlaneGeometry(10, 10);
const planeMaterial = new THREE.MeshStandardMaterial({ color: 0xaaaaaa });
const plane = new THREE.Mesh(planeGeometry, planeMaterial);
plane.rotation.x = -Math.PI / 2; // 让平面水平
plane.receiveShadow = true; // 接受阴影
scene.add(plane);
5. 渲染循环
在动画循环中更新渲染器和相机:
function animate() {
    requestAnimationFrame(animate);
    renderer.render(scene, camera);
}

animate();
6. 调整窗口大小
确保在窗口大小变化时调整渲染器和相机:
window.addEventListener('resize', () => {
    camera.aspect = window.innerWidth / window.innerHeight;
    camera.updateProjectionMatrix();
    renderer.setSize(window.innerWidth, window.innerHeight);
});
7. 导入外部模型注意事项
- 路径问题:确保模型和材质的相对路径正确,使用本地服务器或 CDN 提供资源。
- 格式兼容:如果使用非 GLTF 格式模型(如 OBJ、FBX),需要对应的加载器。
- 性能优化:对复杂模型可以启用材质压缩或 LOD(层级细节)。
我的尝试
<!DOCTYPE html>
<html lang="en">
<head>
    <meta charset="UTF-8">
    <meta name="viewport" content="width=device-width, initial-scale=1.0">
    <title>Three.js 3D Model Import Demo</title>
    <style>
        body {
            margin: 0;
            display: flex; /* Flex 布局 */
            align-items: center; /* 垂直居中 */
            justify-content: center; /* 水平居中 */
            height: 100vh; /* 视窗高度 */
            background-color: #eaeaea; /* 背景颜色 */
        }
        #model-container {
            width: 80%; /* 宽度占父容器 50% */
            height: 80%; /* 高度占父容器 50% */
            position: relative; /* 为子元素定位 */
            background-color: #ffffff; /* 可选:设置背景色以清晰显示容器边界 */
            box-shadow: 0 4px 10px rgba(0, 0, 0, 0.1); /* 添加阴影 */
        }
        canvas {
            display: block; /* 防止 canvas 默认内边距 */
            width: 100%; /* 占满容器宽度 */
            height: 100%; /* 占满容器高度 */
        }
    </style>
</head>
<body>
<div id="model-container"></div>


<script type="module">
    import * as THREE from "../libs/three.module.js";
    import { GLTFLoader } from "../three.js-dev/examples/jsm/loaders/GLTFLoader.js";
    import { OrbitControls } from "../three.js-dev/examples/jsm/controls/OrbitControls.js";

    // 创建场景
    const scene = new THREE.Scene();
    scene.background = new THREE.Color(0xf5eaf7); // 设置场景背景颜色

    // 添加坐标轴辅助
    const axesHelper = new THREE.AxesHelper(50); // 参数为坐标轴的长度
    scene.add(axesHelper);

    // 创建相机
    const camera = new THREE.PerspectiveCamera(
        75,
        window.innerWidth / window.innerHeight,
        0.1,
        1000
    );
    camera.position.set(400, 400, 150);
    camera.lookAt(0, 0, 0);

    // 创建渲染器
    // 找到模型容器的 DOM 元素
    const container = document.getElementById("model-container");

    // 创建渲染器
    const renderer = new THREE.WebGLRenderer({ antialias: true });
    renderer.setSize(container.clientWidth, container.clientHeight); // 设置渲染器大小与容器一致
    renderer.shadowMap.enabled = true; // 启用阴影
    container.appendChild(renderer.domElement); // 将渲染器挂载到容器

    // 添加光源
    const ambientLight = new THREE.AmbientLight(0x404040, 5); // 环境光,强度为 1
    scene.add(ambientLight);

    // 添加多个定向光(来自不同角度)
    const directionalLight1 = new THREE.DirectionalLight(0xffffff, 1); // 第一个定向光
    directionalLight1.position.set(5, 10, 5); // 定向光的位置
    scene.add(directionalLight1);

    // 第二个定向光
    const directionalLight2 = new THREE.DirectionalLight(0xffffff, 1); // 第二个定向光
    directionalLight2.position.set(-5, 10, -5); // 设置一个从另一方向的光
    scene.add(directionalLight2);

    // 第三个定向光
    const directionalLight3 = new THREE.DirectionalLight(0xffffff, 1); // 第三个定向光
    directionalLight3.position.set(0, 10, -5); // 光源方向
    scene.add(directionalLight3);

    // 添加点光源模拟局部光照
    const pointLight1 = new THREE.PointLight(0xffffff, 2, 500); // 红色点光源,强度为 2,范围为 50
    pointLight1.position.set(100, 50, 0); // 点光源的位置
    scene.add(pointLight1);

    // 第二个点光源
    const pointLight2 = new THREE.PointLight(0xffffff, 2, 500); // 绿色点光源
    pointLight2.position.set(-200, -50, -300); // 设置不同的光源位置
    scene.add(pointLight2);


    // 光源辅助观察
    const pointLightHelper0= new THREE.PointLightHelper(directionalLight3, 10);
    //scene.add(pointLightHelper0);

    const pointLightHelper1= new THREE.PointLightHelper(pointLight1, 10);
    //scene.add(pointLightHelper1);

    const pointLightHelper2 = new THREE.PointLightHelper(pointLight2, 10);
    //scene.add(pointLightHelper2);

    // 可选:调整阴影
    directionalLight1.castShadow = true; // 启用阴影
    directionalLight2.castShadow = true;
    directionalLight3.castShadow = true;

    // 创建地面接收阴影
    const planeGeometry = new THREE.PlaneGeometry(1000, 1000);
    const planeMaterial = new THREE.ShadowMaterial({ opacity: 0.5 }); // 半透明阴影材质
    const plane = new THREE.Mesh(planeGeometry, planeMaterial);
    plane.rotation.x = -Math.PI / 2;
    //plane.position.y = -1;
    plane.receiveShadow = true; // 接收阴影
    scene.add(plane);

    // 加载 3D 模型
    const loader = new GLTFLoader();

    loader.load(
        '../models/t1.glb', // 模型路径
        (gltf) => {
            const model = gltf.scene;
            scene.add(model); // 添加到场景
            model.scale.set(3, 3, 3); // 调整大小
            //model.position.y = -1;   // 将模型放在视野中央
            model.position.set(-200,0,0);  // 将模型放在原点
            // 保存模型以便后续旋转
            model.rotationSpeed = 0.01; // 旋转速度
            // 遍历模型子对象,检查材质信息
            model.traverse((child) => {
                if (child.isMesh) {
                    console.log(`Mesh Name: ${child.name}`); // 输出网格名称

                    // 检查材质信息
                    //const material = child.material;
                    const material = new THREE.MeshBasicMaterial({
                        color: 0x0000ff, //设置材质颜色
                        transparent:true,//开启透明
                        opacity:0.5,//设置透明度
                    });

                    if (Array.isArray(material)) {
                        // 如果是多材质网格
                        material.forEach((mat, index) => {
                            console.log(`Material ${index}:`, mat);
                            if (mat.map) console.log(`- Diffuse Map:`, mat.map);
                            if (mat.normalMap) console.log(`- Normal Map:`, mat.normalMap);
                            if (mat.roughnessMap) console.log(`- Roughness Map:`, mat.roughnessMap);
                            if (mat.metalnessMap) console.log(`- Metalness Map:`, mat.metalnessMap);
                        });
                    } else {
                        console.log(`Material:`, material);
                        if (material.map) console.log(`- Diffuse Map:`, material.map);
                        if (material.normalMap) console.log(`- Normal Map:`, material.normalMap);
                        if (material.roughnessMap) console.log(`- Roughness Map:`, material.roughnessMap);
                        if (material.metalnessMap) console.log(`- Metalness Map:`, material.metalnessMap);
                    }
                }
            });
        },
        (xhr) => {
            console.log((xhr.loaded / xhr.total * 100) + '% loaded'); // 加载进度
        },
        (error) => {
            console.error('An error occurred while loading the model', error);
        }
    );

    // 添加 OrbitControls(鼠标交互控制)
    const controls = new OrbitControls(camera, renderer.domElement);
    controls.enableDamping = true; // 启用惯性
    controls.dampingFactor = 0.25; // 阻尼因子
    controls.screenSpacePanning = false; // 禁止屏幕平移

    // 动画循环
    function animate() {
        requestAnimationFrame(animate);
        // 渲染场景和相机
        renderer.render(scene, camera);
        // 更新控制器
        controls.update();
    }

    animate();

    // 监听窗口大小变化,调整渲染器和相机
    window.addEventListener("resize", () => {
        camera.aspect = window.innerWidth / window.innerHeight;
        camera.updateProjectionMatrix();
        renderer.setSize(window.innerWidth, window.innerHeight);
    });
</script>
</body>
</html>


